.jpg)
A paver edge restraint costs maybe 2 to 4 percent of your patio budget and controls whether the other 96 percent stays where you put it. It is the only structural component you never see once the job is done, which is exactly why it gets skipped, undersized, or set on soft dirt. When homeowners in Matthews call us about joints that opened up after three summers, the edge is almost always the reason.
Why Unrestrained Edges Fail the Whole Field
Interlocking pavement works because each unit is locked between its neighbors. Load hits one paver, and friction plus sand in the joints pushes that load sideways into the surrounding units. That only works if the field has something solid to push against at the perimeter.
Remove the perimeter and the outer row starts creeping outward. A quarter inch of movement at the edge opens a quarter inch of joint. That gap loses its sand. Water runs in. The next row creeps.
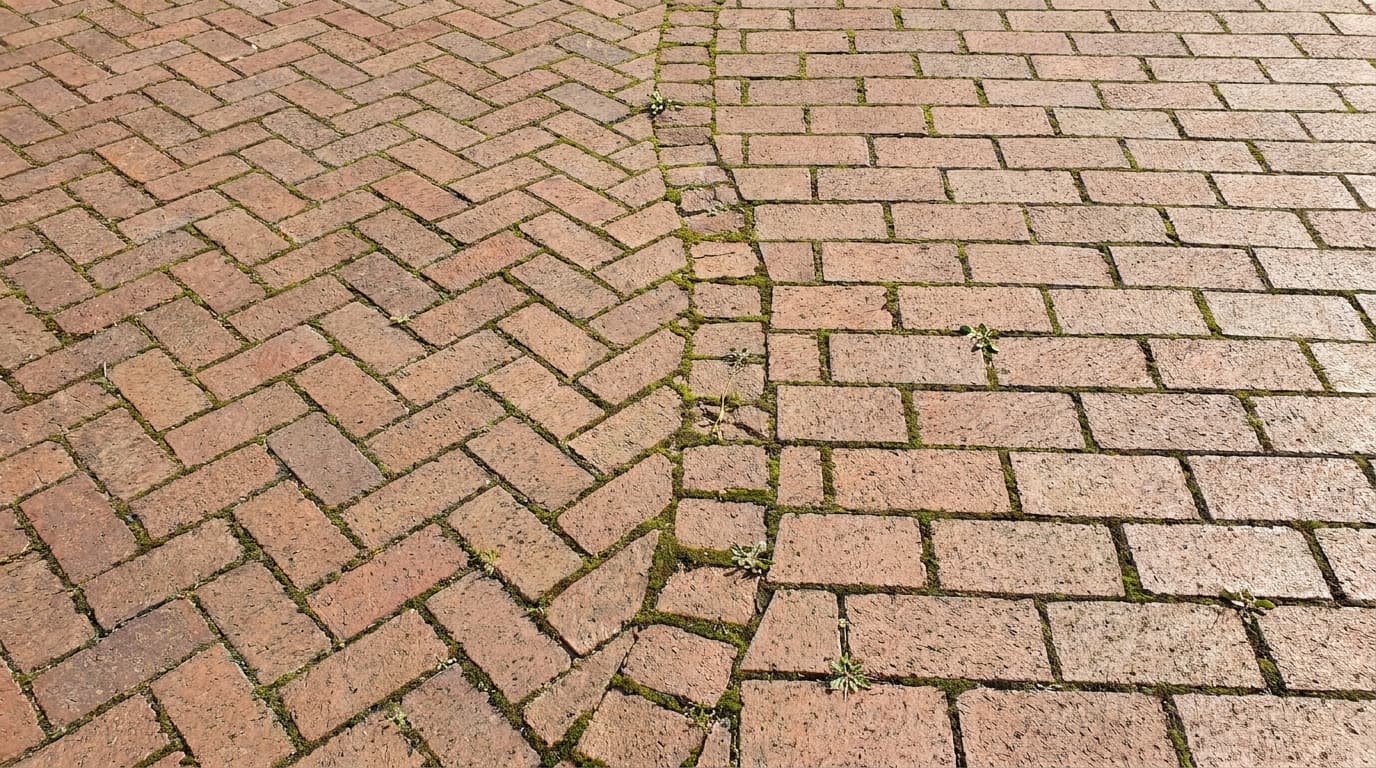
Two or three seasons later the middle of the patio looks fine and the outer three feet look like a puzzle someone knocked. Once the field is loose, you cannot fix it by sweeping in more polymeric sand. The pavers have to come up and get re-set tight against a new restraint.
The Restraint Types, Honestly Compared
- Rigid PVC or composite L-profile. The industry default. An L-shaped strip with a flat toe that sits on the base and a vertical face against the paver. Spiked down. Good value, handles curves in the notched versions, invisible under mulch or sod. Our first choice for most residential patios.
- Aluminum edging. Lower profile, stiffer, holds a crisp line on formal geometry. Costs more, typically $2 to $4 per linear foot in material versus roughly $1 to $2 for plastic. Worth it on straight runs in Myers Park and Dilworth where the edge is visible.
- Concrete haunch or toe curb. A wedge of concrete poured against the outer paver face, hidden below grade. This is what we use on paver driveways and on anything holding back a slope. It is the strongest option and the most labor.
- Steel edging. Very strong, very rigid, mostly used commercially. It rusts unless it is a weathering or galvanized product, and it does not love tight curves.
- "Just soil." Not a restraint. Compacted clay backfill feels solid on install day. It softens with the first heavy August thunderstorm and it is gone in a year.
Spike Specs That Actually Matter
The restraint is only as good as what pins it. We use 10 to 12 inch galvanized or steel spikes spaced roughly every 10 to 12 inches on straight patio runs. On curves we tighten spacing to about 6 to 8 inches, because a curve wants to straighten itself out and every spike is fighting that.
Driveways get tighter spacing still, plus the concrete haunch. Vehicle loads push far harder laterally than patio furniture ever will.
The spike has to pass through the restraint's toe and drive through the compacted stone into the subgrade below. A spike that stops in loose fill holds nothing. If a spike goes in with three easy taps, the base under it is not compacted.
The Base Overhang Nobody Budgets For
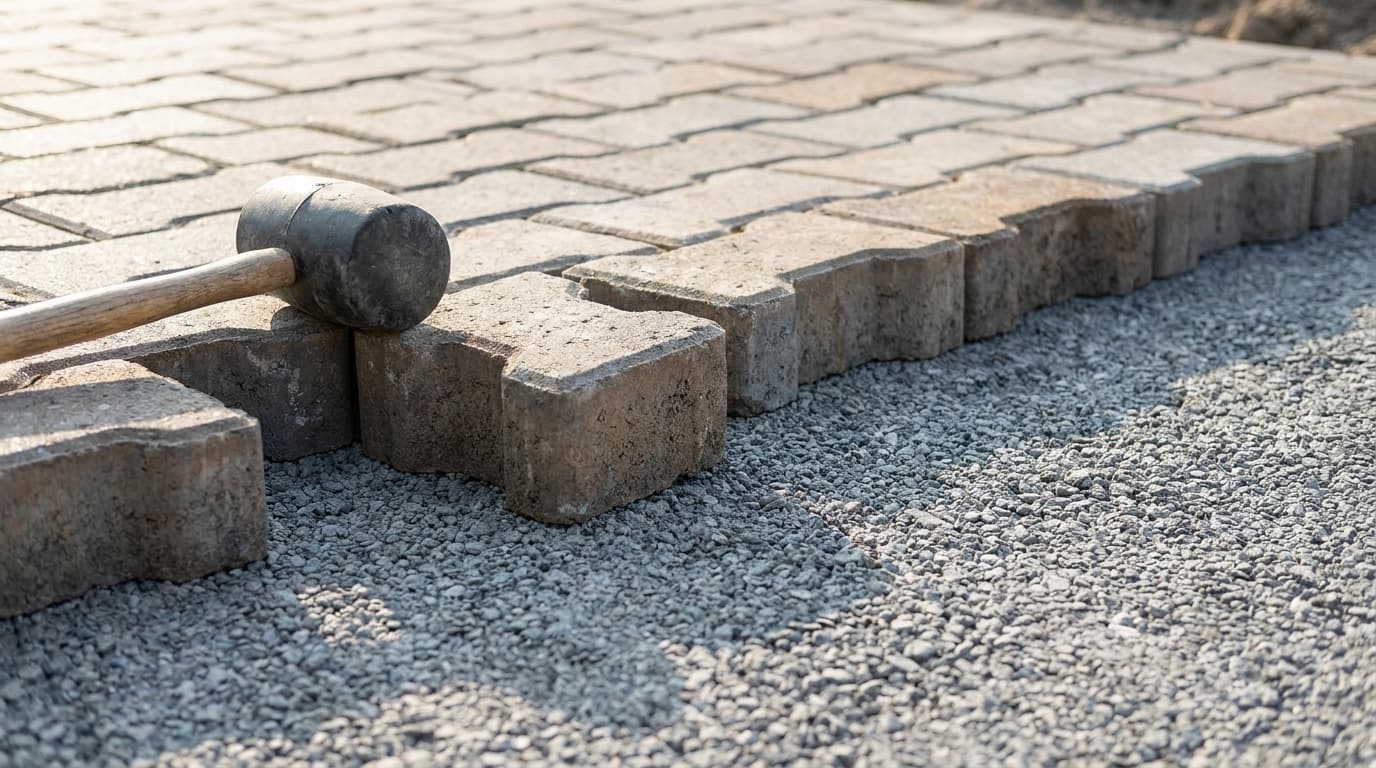
This is the detail that separates a real install from a fast one. The compacted aggregate base must extend 6 to 12 inches beyond the outer edge of the pavers on every side.
That shelf is what the restraint sits on. Without it, the restraint's toe rests on native soil, and in Charlotte that soil is red clay that swells wet and shrinks dry. The restraint rides that movement, tips outward, and stops doing its job.
Extending the base means more excavation, more stone, and more compaction hours. On a 400 square foot patio, a 12-inch overhang adds roughly 80 square feet of base work. It shows up in the estimate. Ask any bidder how far their base extends past the pavers. The answer tells you a lot.
Driveways Versus Patios
A patio carries maybe 100 pounds per square foot of people and furniture, applied straight down. A driveway carries a 6,000 pound SUV that turns its front wheels while stopped, which shears the surface sideways at the edge.
For driveways we run a concrete toe curb along both sides, typically 4 to 6 inches wide and 4 to 6 inches deep, poured against the outer paver course on top of the base. Plastic edging alone on a Huntersville driveway will not survive a decade of turning tires.
Pool decks land in between. Add pool chemicals, constant wetting, and bare feet, and we lean toward concrete haunch there too.
How Red Clay and Freeze-Thaw Push Restraints Out
Charlotte gets enough freeze-thaw cycles each winter to matter, usually clustered in January and February. Water sits in saturated clay against the patio edge. It freezes, expands, and shoves outward against whatever is there.
Red clay makes it worse. Piedmont clay holds water like a sponge and moves a lot as moisture changes. We did a repair in Mint Hill on a patio built four years earlier where the edging had been spiked directly into clay with 6 inch spikes. The whole west edge had walked out about 1.5 inches and the outer two rows had dropped.
The fix was not cosmetic. We pulled three courses, cut in a proper stone shelf, set new restraint on 12 inch spikes, and reset the pavers with new joint sand.
How to Inspect Your Existing Edge
Walk your patio and check these, in order:
- Kneel at the perimeter and pull back mulch or grass. You should feel a firm plastic or aluminum lip, or hidden concrete. If you find only dirt, there is no restraint.
- Push the outer row hard with your palm. Any rocking or sliding means the restraint is loose or the base is soft.
- Measure your joints. Outer-row joints noticeably wider than joints in the middle mean the field is spreading.
- Look for spikes lifting out of the ground, heads sitting proud, or edging tipped outward at the top.
- Check whether the outer row has settled lower than the second row. That is base washout at the perimeter.
- Look at the corners. Corners fail first because they get pushed from two directions.
What Repairs Cost in the Charlotte Area
Rough ranges we see, and every yard is different:
- Re-spiking loose existing restraint: $8 to $15 per linear foot
- Full edge replacement, pavers lifted and reset, new restraint on repaired base: $25 to $45 per linear foot
- Concrete haunch retrofit on a driveway edge: $35 to $60 per linear foot
- Adding proper base shelf where none exists: add roughly $10 to $20 per linear foot
A 60 linear foot patio edge redo typically lands in the $1,800 to $2,700 range. That is real money to fix something that would have cost a few hundred dollars to do right the first time.
Frequently Asked Questions
Yes, but it is not a surface job. We lift the outer one to three courses, excavate a shelf, compact new stone out past the paver line, install the restraint on full-length spikes, then reset the pavers and re-sand. Expect $25 to $45 per linear foot. Doing it before the field spreads badly saves the most money.
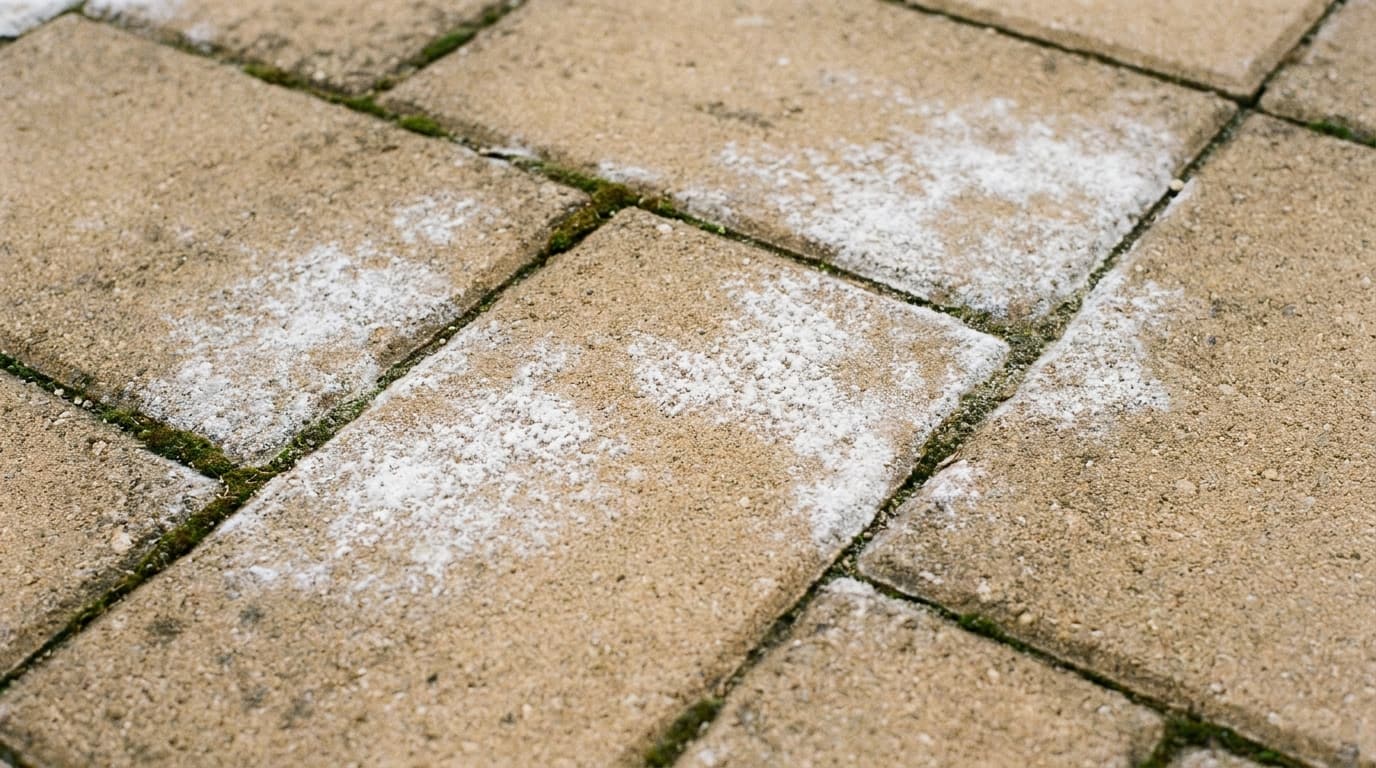
No. Polymeric sand stabilizes joints and slows weed growth, but it has almost no lateral strength. It cracks and crumbles once units start moving. Sand is a joint filler. The restraint is the structure. A patio needs both, and sand cannot rescue an unrestrained edge.
Quality PVC or aluminum set on compacted stone with full-length spikes commonly runs 20 plus years with no attention. A concrete haunch generally lasts the life of the pavement. Failures we see are almost always installation shortcuts, not material wearing out.
No. Any solid vertical surface, such as a foundation wall, a poured curb, or a retaining wall, restrains that side. You only need restraint on free edges that face soil, mulch, or lawn.
Planning something similar? See how we approach paver patio installation in Charlotte and the surrounding metro, or find your town in our service area.
Get a Free Estimate
If your patio edges are spreading or you want to see how far the base runs past the pavers on a new install, we will walk the perimeter with you and show you exactly what we find.
Get a Free Estimate