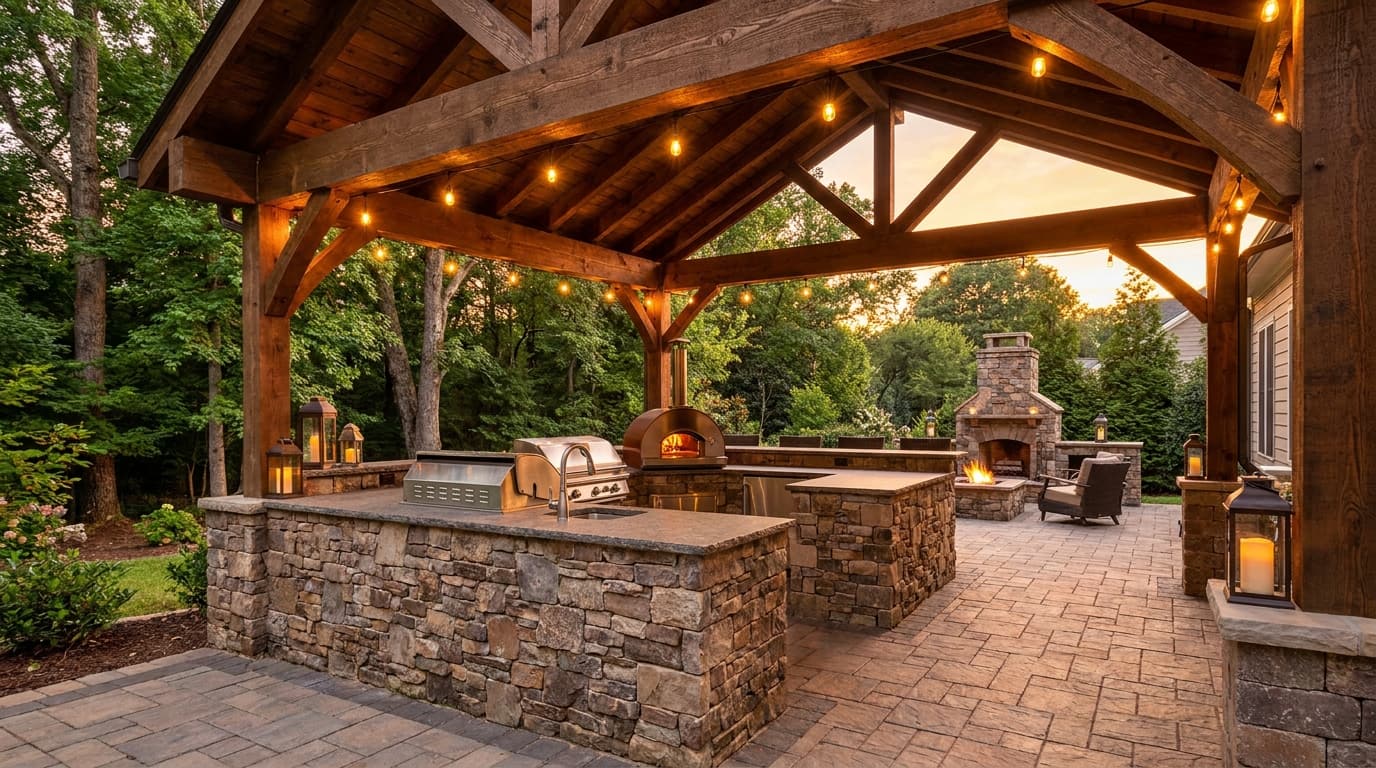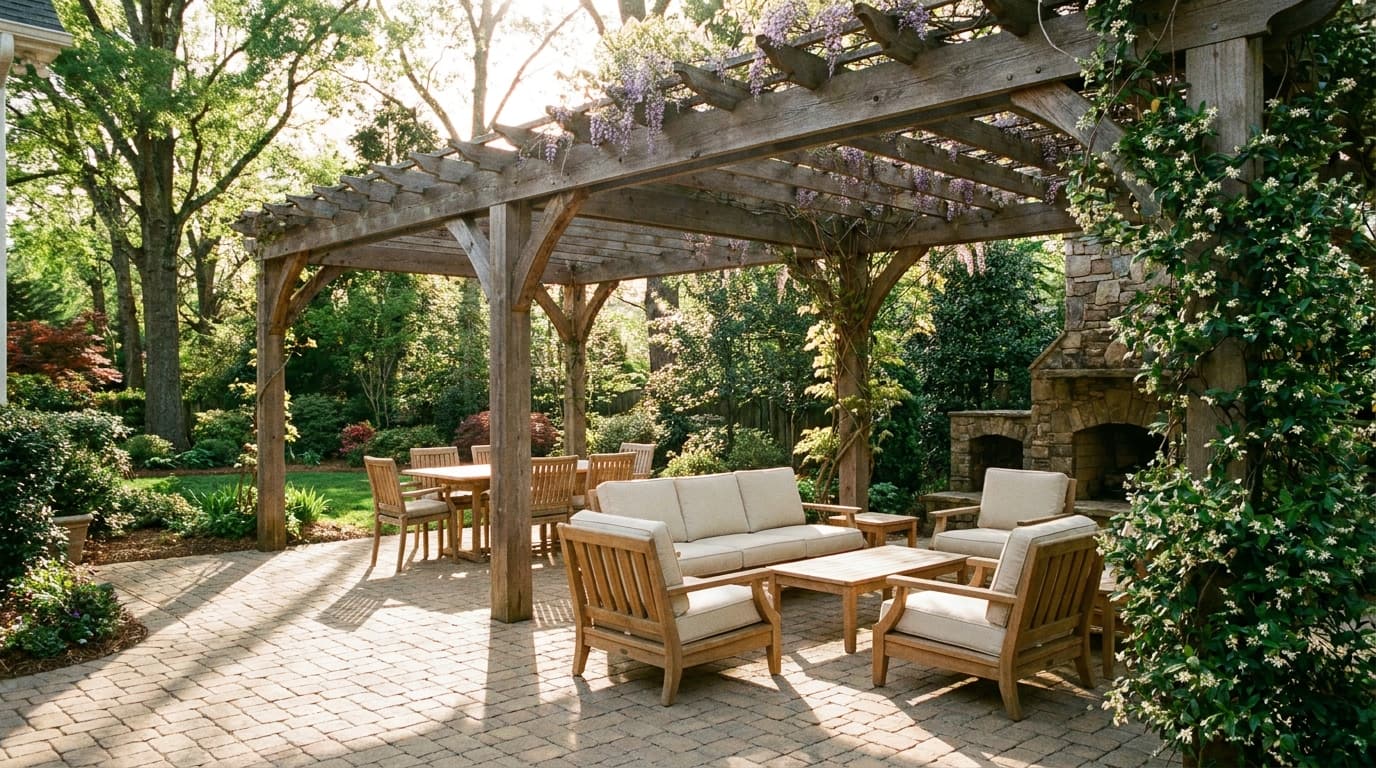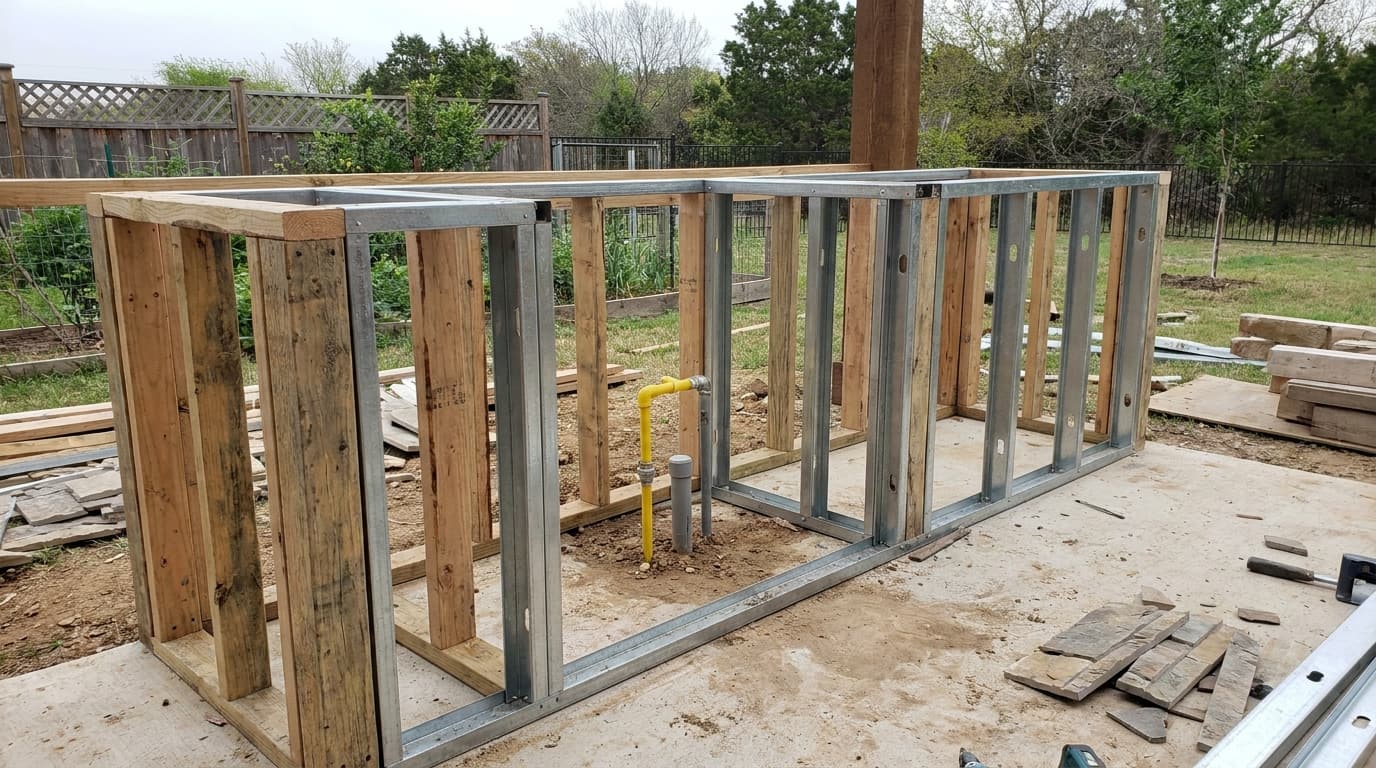
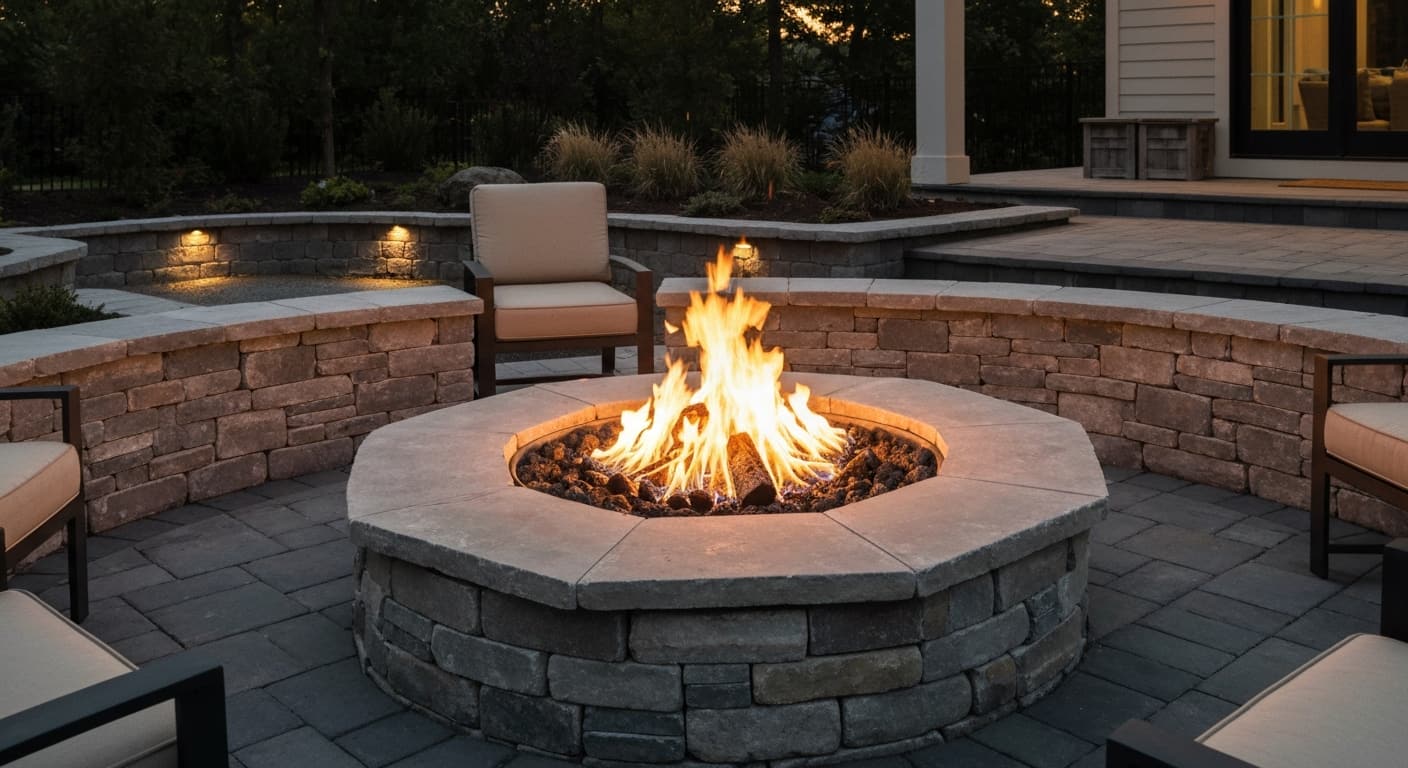
Paver patio lighting is the difference between a space you use until 8 p.m. and one you use until 11. Done well, you never see a fixture, only the light. Done poorly, you get glare in your eyes, a parking-lot color temperature, and connections that corrode through a Charlotte August. This guide covers fixture selection, the electrical math, and what it really costs installed.
The Fixture Types and What Each One Is For
- Hardscape or under-cap lights. Flat bar fixtures mounted under a wall cap or step nose, throwing light down the face. This is the workhorse of paver patio lighting. Invisible source, no glare, beautiful grazing light on stone texture.
- Recessed paver lights. Puck fixtures set into the paver field itself. Dramatic, but they get walked on, collect debris, and are the hardest to service. Use sparingly, usually as edge markers.
- Step lights. Set into risers or side walls of steps. This is safety lighting, not mood lighting. Every set of exterior steps should have them.
- Path lights. Mushroom or pagoda fixtures along walkways. Effective but easy to overdo. Spacing them like runway markers is the most common mistake we see.
- Uplights. Directional spots at the base of trees or architecture. One well-aimed uplight on a mature oak in Myers Park does more for a backyard than eight path lights.
- Downlights or moonlighting. Mounted high in a tree or under a pergola beam, aimed down. Produces natural dappled light. The most sophisticated effect and the most work to install.
Why 12V Low-Voltage Wins Outside
Line voltage at 120V requires buried conduit at code depth, junction boxes, and licensed electrical work for every fixture. Low-voltage 12V runs from a single transformer plugged into one GFCI outlet, using direct-burial cable that can sit at a shallow depth.
The practical differences:
- Fixtures cost less and come in far more styles
- You can move, add, or re-aim fixtures later without an electrician
- Shock risk is negligible if a shovel finds the cable
- Trenching is shallow, typically 6 inches, versus 18 inches or more for line voltage
The single 120V GFCI outlet feeding the transformer does need to be installed by a licensed electrician if it does not already exist. Requirements vary, so check with Mecklenburg County.
Transformer Sizing Without Guesswork
Add up the wattage of every fixture, then add 20 to 25 percent headroom. That margin covers future additions and keeps the transformer off its limit, where it runs hot and dies early.
Example. Twelve LED hardscape lights at 3W each is 36W. Four uplights at 7W each is 28W. Six path lights at 4W each is 24W. Total is 88W. Add 25 percent and you want at least 110W of capacity, so you buy a 150W transformer.
Buy multi-tap. A multi-tap transformer offers 12V, 13V, 14V, and 15V terminals so you can compensate for voltage drop on long runs. Single-tap transformers leave you no options later.
Wire Gauge and Voltage Drop
Voltage drop is the reason lighting jobs look inconsistent. Fixtures at the end of a long run get less voltage and glow dimmer or shift color.
General guidance for 12V runs:
- 16 gauge: short runs under about 50 feet with light loads
- 14 gauge: typical runs to 100 feet
- 12 gauge: runs to roughly 150 feet or heavier loads
- 10 gauge: long runs past 150 feet, or main trunk lines feeding hubs
We default to 12 gauge on almost everything residential. The extra material cost over a whole patio is usually $60 to $150, and it eliminates the problem permanently. LED fixtures generally accept 10 to 15 volts and run consistently across that band, which forgives a lot, but not everything.
Use a hub-and-spoke layout, not a daisy chain. Run heavy trunk cable to a hub near the fixture cluster, then short spokes to each fixture. Drop stays even.
LED Lumens and Color Temperature
Warm color is non-negotiable on a patio. Use 2700K. It reads like candlelight and incandescent, it flatters brick, tan pavers, and skin tones, and it makes an evening feel like an evening.
4000K is bluish white. It renders green foliage well, which is why it shows up in some landscape catalogs, but on a patio it looks like a commercial parking lot. 3000K is an acceptable compromise if you want slightly crisper light. Anything above that belongs on a warehouse.
Practical lumen targets:
- Hardscape wall lights: 60 to 120 lumens each
- Step lights: 30 to 80 lumens each
- Path lights: 50 to 100 lumens each
- Tree uplights, small ornamental: 150 to 300 lumens
- Tree uplights, mature oak or pine: 400 to 800 lumens
Most homeowners buy fixtures twice as bright as they need. Under-lighting a patio looks intentional. Over-lighting it looks like an interrogation.
Sleeves and Conduit Before the Pavers Go Down
This is the section that saves the most money, and it costs almost nothing on install day.
Before the base gets compacted and pavers get laid, we run 2 inch PVC sleeves under the future patio wherever a cable might need to cross. Sleeves cost a few dollars per foot. We cap both ends and mark the locations on the as-built.
Plan sleeves for:
- Every crossing from the house side to the far side of the patio
- Under any walkway that separates a lighting zone from the transformer
- Under the driveway if a front yard zone is even remotely possible later
- Under steps and into any seat wall cavity, before the wall gets capped
- To the base of any tree you may want to uplight
- To the outdoor kitchen island, for undercounter and toe-kick lighting
We built a patio in Plaza Midwood where the homeowner declined lighting to save budget but let us run four sleeves for about $220. Two years later she added eleven fixtures. Because the sleeves existed, the retrofit took a day instead of three and cost roughly $1,400 less than cutting in.
Connections That Survive Charlotte Humidity
Charlotte summers sit at high humidity for months, and August thunderstorms drop 1 to 2 inches of rain in an hour. Standard twist-on wire nuts filled with grease fail here. We have opened junctions three years old that were green, corroded, and half-conductive.
What holds up:
- Silicone-filled direct-burial connectors, one per splice, never reused
- Heat-shrink butt connectors with adhesive lining on trunk splices
- Every connection above grade in a valve box or wall cavity when possible, not buried in wet clay
- Fixture leads coiled with a drip loop so water runs off rather than into the connector
- Stainless or brass fixtures near pools and irrigation; painted aluminum corrodes at the base within a few years
Composite and brass fixtures cost more up front and stop the replacement cycle. A $40 aluminum uplight replaced twice costs more than a $95 brass one that outlives the patio.
What It Costs Installed
Per fixture, installed, including wire, connections, and aiming:
- Hardscape or under-cap light: $110 to $190
- Step light: $130 to $210
- Path light: $120 to $220
- Uplight, brass: $150 to $280
- Downlight in a tree, includes climbing and concealment: $250 to $450
- Recessed paver light: $180 to $300
- Transformer, 150W to 300W, installed: $450 to $900
- Astronomical timer or smart controller: $100 to $350
Typical whole-project ranges:
- Small patio, 6 to 10 fixtures: $1,600 to $3,000
- Mid-size patio with seat wall and steps, 12 to 20 fixtures: $3,200 to $6,000
- Large outdoor living space with kitchen, trees, and pool, 25 to 40 fixtures: $7,000 to $14,000
Retrofitting After the Patio Is Built
You can always add paver patio lighting later. It just costs more.
Adding under-cap lights to an existing seat wall means lifting caps, chiseling a wire channel, running cable, and re-setting caps in adhesive. That adds roughly $40 to $80 per linear foot of wall involved.
Crossing an existing patio is worse. Options are cutting a channel through the paver field and resetting units, which typically runs $25 to $50 per linear foot, or boring beneath, which requires access on both ends and runs $300 to $800 per crossing.
Routing around the perimeter through planting beds is usually cheapest, but it means more cable, more voltage drop, and sometimes a heavier gauge or a second transformer.
The honest math: sleeves during construction cost $150 to $400 total. Skipping them and retrofitting later commonly costs $1,200 to $3,000 more. On a project in Huntersville with a 28 foot seat wall, the retrofit was $2,100 for work that would have been $300 during the original build.
Frequently Asked Questions
A 400 square foot patio with a seat wall usually lands at 10 to 16 fixtures: 6 to 10 under-cap lights on the wall, 2 to 3 step lights, and 2 to 3 uplights on nearby trees or the house. Start conservative. Adding two fixtures later is easy. Removing glare from an over-lit patio means re-doing the layout.
Barely. Thirty LED fixtures averaging 4W each draw about 120W, roughly the same as two old incandescent bulbs. Running six hours nightly, that is around 22 kWh per month. At typical Charlotte rates that is a few dollars a month.
The 12V system itself generally does not, since it is low voltage. The 120V GFCI outlet feeding the transformer is electrical work and typically does require a licensed electrician and a permit. Rules vary by jurisdiction, so check with Mecklenburg County or your town office.
We use an astronomical timer that tracks sunset year-round, or a smart controller if you want phone control and scenes. Photocells work but drift. In winter, nothing special is needed. Low-voltage systems run through freezes fine. Just clear leaves off recessed fixtures so heat is not trapped.
Yes. We lift the caps, cut a channel in the top course, run the cable, place the fixtures under the cap nose, and reset the caps with masonry adhesive. It is clean work and invisible when finished. Budget $40 to $80 per linear foot of wall involved.
Planning something similar? See how we approach paver patio installation in Charlotte and the surrounding metro, or find your town in our service area.
Get a Free Estimate
If your patio is still in the design stage, we will map the sleeve locations before a single paver goes down, and if it is already built, we will show you the cheapest honest path to lighting it.
Get a Free Estimate