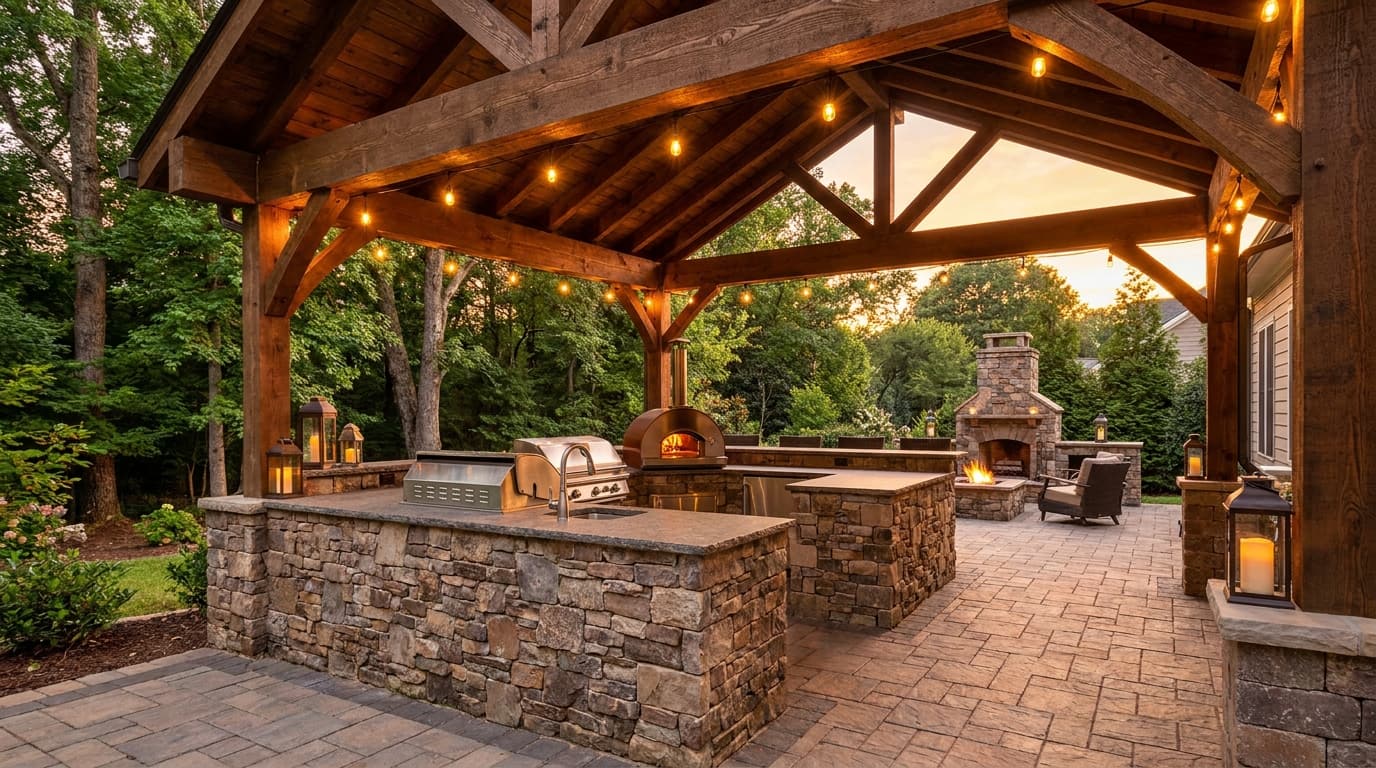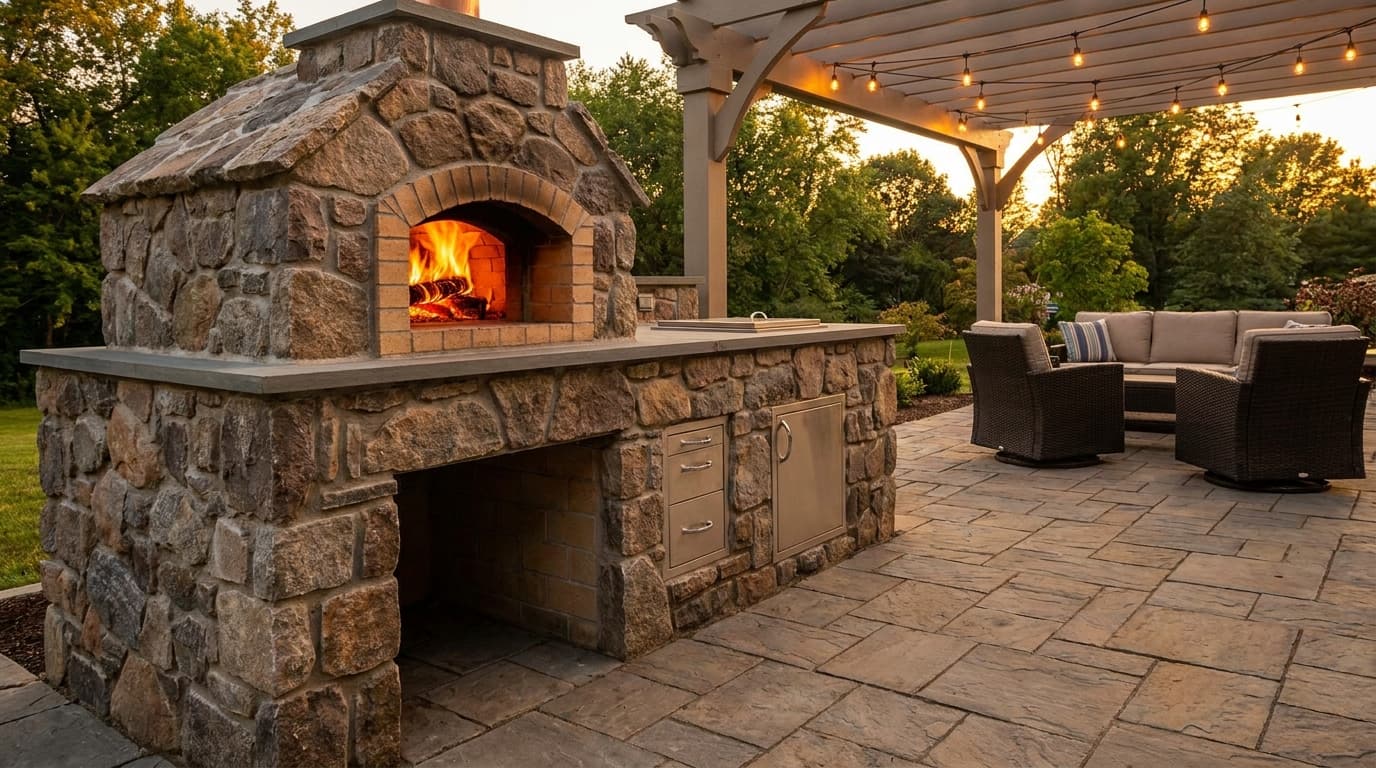
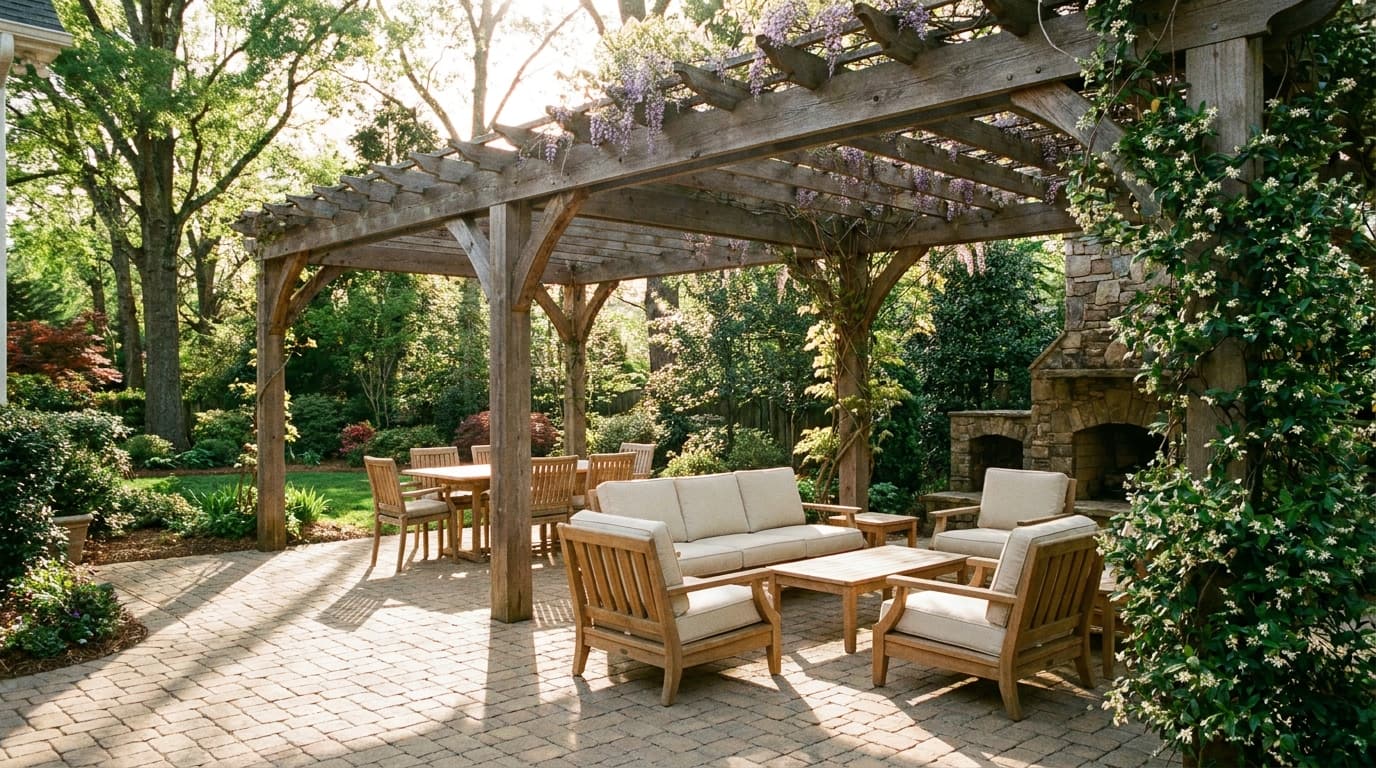
We get called out fairly often to add a pergola onto a paver patio somebody else built, or that we built years earlier without one, and it's almost always more expensive and more limited than it would have been if the pergola had been part of the original plan. Planning the pergola and the patio as one project isn't just about saving a design step — it changes what's structurally possible under your feet.
Why sequencing matters: pergola first, patio second is backwards
A paver patio is built on a compacted gravel base, typically 4-6 inches of compacted aggregate under 1-1.5 inches of bedding sand, with the pavers set on top and locked in with polymeric sand at the joints. A pergola post footing needs to go well below that — usually 24-36 inches down, below the frost line, set in concrete. If the patio gets built first, adding posts later means cutting out pavers, digging through compacted base that then has to be re-compacted around the new footing, and patching pavers back in around a post that was never accounted for in the layout. It works, but it's visibly a retrofit and it costs 20-30% more than footings poured during the original patio build, when the excavation is already open.
Footing depth and post placement relative to base compaction
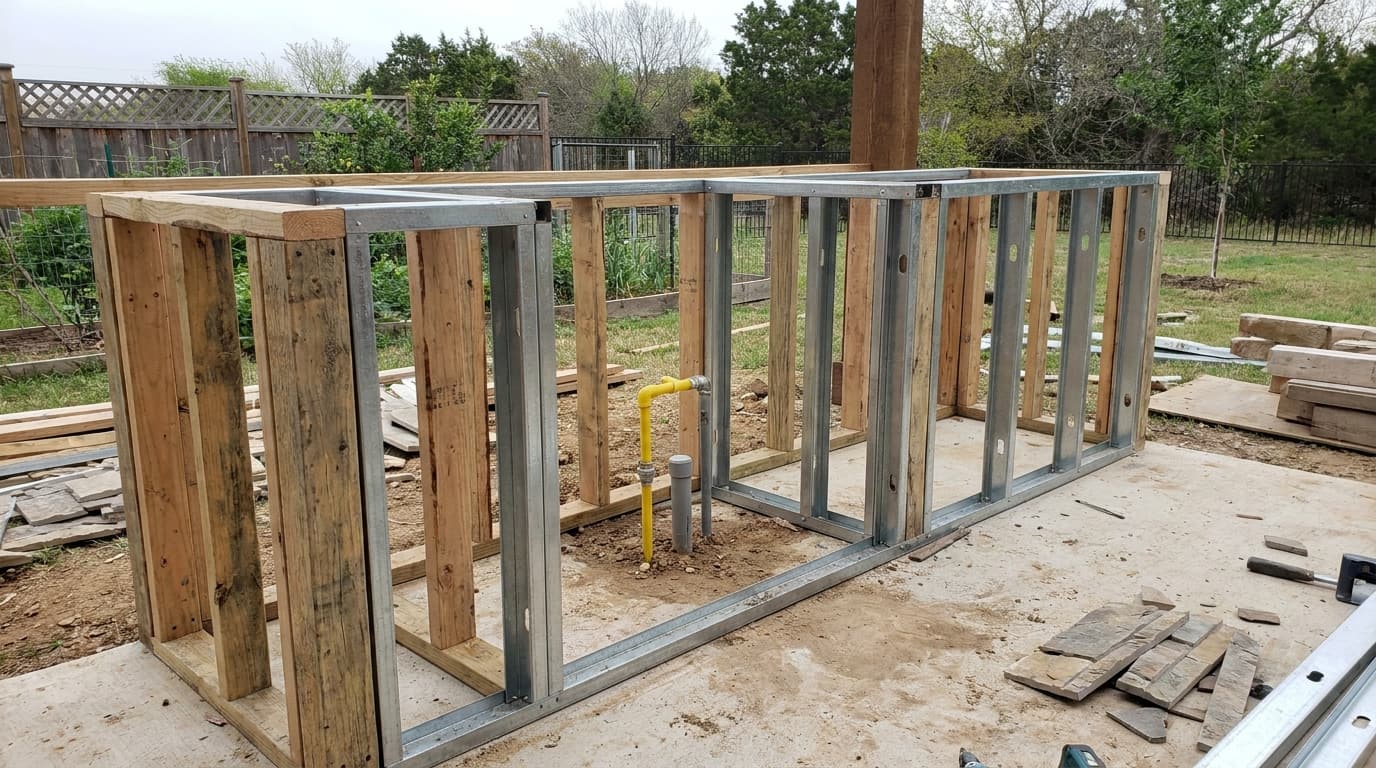
When we plan a pergola with the patio from day one, we dig and pour the post footings before the paver base ever goes down. That lets us set footings at full depth without disturbing anything above, then build the patio's compacted base and paver surface around the posts as if they were always part of the site. Post placement also gets decided by the patio's layout, not the other way around — we look at furniture zones, walking paths, and sightlines from the house before locking in where the posts land, so nobody ends up with a support post in the middle of a dining table's legroom.
Material options: wood, aluminum, vinyl
- Cedar or pressure-treated wood — the most affordable option at $30-$50 per square foot installed, warm traditional look, requires re-staining or sealing every 2-3 years in our climate
- Aluminum — $45-$75 per square foot, powder-coated finish holds up to Charlotte humidity and UV with essentially no maintenance, common choice when the pergola sits near a pool or outdoor kitchen with moisture exposure
- Vinyl/composite — $40-$65 per square foot, similar low-maintenance profile to aluminum with a different look, tends to expand and contract more in temperature swings than aluminum
Louvered aluminum pergolas with adjustable roof slats have become a frequent upgrade request, adding roughly $8,000-$15,000 over a fixed-slat version of the same footprint, because they let homeowners close the roof during a sudden afternoon storm instead of running inside. We've also seen more interest in hybrid builds — wood posts and beams paired with an aluminum or polycarbonate roof panel, which keeps the warmer look of wood at eye level while putting the weather-exposed top surface on a material that won't need refinishing every couple of years. It costs slightly more than an all-wood structure but noticeably less than going full aluminum, and it's become one of our more common recommendations for clients who like the traditional look but don't want the maintenance schedule that comes with it.
How post placement affects the patio's layout, not just the roof above it
Where a pergola's posts land doesn't only decide what the roof looks like — it decides how the whole patio gets used underneath it. A 4-post pergola over a dining table needs enough clearance between posts and chairs that nobody's bumping a post to push back from the table, typically a minimum of 3 feet of clear walking space on every side. We mock up furniture placement with the client, sometimes literally chalking out the dining table and chair footprint on the compacted base, before a single footing gets dug, because moving a post after the fact means moving a footing, and that's not a small change.
Drainage and slope considerations under a pergola
A pergola changes how water moves across a patio even when its roof isn't solid. Slatted or louvered roofs still concentrate runoff along certain lines during heavy rain, and posts themselves can interrupt the sheet-flow grade a patio depends on to shed water toward a lawn or drain. We build the patio's slope — typically a 1-2% grade away from the house — around the confirmed post locations, and where a solid or near-solid roof panel is planned, we account for concentrated runoff at the roofline with either a wider paver joint spacing nearby or a discreet channel drain tied into the yard's existing drainage. Skipping this step is one of the more common reasons a retrofit pergola causes standing water on a patio that never had a puddling problem before.
What it costs to plan them together vs separately
A 16x20 paver patio with a wood pergola built as one combined project typically runs $22,000-$34,000 depending on paver material and pergola style. The same two projects done separately — patio now, pergola added 2-3 years later — usually costs $4,000-$7,000 more in total, almost entirely from the extra demolition, re-compaction, and paver patching the retrofit requires. The lesson we give every client considering "maybe a pergola later" is simple: even if the budget doesn't allow building the pergola now, let us set the footings now and cap them flush with the patio surface, so the structure can go up later without touching the finished pavers.
A real Charlotte scenario: pergola and patio built together in Cornelius
A Cornelius homeowner wanted a 14x18 paver patio with a wood pergola over the dining area from the start. We poured four post footings at 30 inches deep before laying any base material, then built the compacted base and paver surface around them. The patio with a travertine-look paver ran $11,600, the cedar pergola with a partial polycarbonate roof panel over one section for rain protection added $9,800, and post wrapping to match the home's trim color added $1,200. Total: $22,600, with zero paver cutting required because the posts were planned into the layout from the first excavation day.
Frequently Asked Questions
Yes, and it's often cheaper because it needs fewer posts and footings, but it requires proper ledger board flashing into the house's exterior to prevent water intrusion, which is inspected work in most Charlotte-area jurisdictions.
We typically go 30-36 inches to get below the regional frost line and reach stable soil, though exact depth depends on the post size and local soil conditions on the specific lot.
Most freestanding pergolas over a certain size or height require a permit, and attached pergolas almost always do because of the structural tie-in to the house; we pull the permit as part of the project so the homeowner doesn't have to navigate it separately.
It's still very doable — we assess the existing base's condition first, then cut and remove only the pavers directly around each planned post location, pour footings at full depth, and reset the pavers around the new posts; it costs more than building both together from the start, but it's a routine retrofit, not a full patio rebuild.
Planning something similar? See how we approach paver patio installation in Charlotte and the surrounding metro, or find your town in our service area.
Get a Free Estimate
Tell us if a pergola is part of your vision, even as a "maybe later," and we'll plan the footings into your patio now so it's ready when you are.
Get a Free Estimate